

A red marble slab can look dramatic in a showroom and feel overwhelming once it covers a floor, staircase or countertop. You will be able to match the finish to the location, identify a pattern that suits the room, inspect real slabs for defects and approve a layout that remains coherent after cutting.
Key takeaways
- Use polished red marble for dry, low-traffic areas and vanity surrounds.
- Choose veining and colour after viewing samples in the room’s actual lighting.
- Inspect full slabs for cracks, shade changes, pits, and repaired areas.
- Approve slab order, cutting direction, and bookmatching before fabrication begins.
Match the Marble Finish to the Room’s Traffic and Moisture
Use polished red marble for dry wall cladding, low-traffic formal rooms and vanity surrounds, not for wet, busy floors. Its reflective surface deepens the red and sharpens veining, but it exposes dust, water marks, fine scratches and acid etching.
| Finish | Best location | Trade-off |
|---|---|---|
| Polished | Dry walls, feature panels, formal rooms, low-traffic floors | Strong colour and shine; slippery when wet and demanding to maintain |
| Honed marble | Living-room floors, kitchens, bathrooms and stair treads | Less glare and better visual forgiveness; still absorbs oils and coloured liquids without suitable impregnation |
| Leathered marble | Busy floors, kitchen worktops and commercial areas | Hides fingerprints and light scratching; its texture retains dirt and needs more detailed cleaning |
| Brushed marble finish | Covered entries, bathrooms, balconies and exterior steps | Adds grip and a tactile look; grooves collect grime and resist quick mopping |
| Flamed | Exterior steps, wet landscaping and exposed paving, only if the stone tolerates the process | Strong texture and traction; roughness increases cleaning effort |
| Sandblasted | Wet zones and textured wall or floor applications | Reduces slipperiness; dulls colour and can make staining harder to remove |
For Bengaluru entries, bathrooms and monsoon-exposed floors, start with honed, brushed, flamed or sandblasted rather than a mirror polish. Confirm the choice with a wet slip-resistance test or the project specification. On exterior steps, pair texture with bullnose or eased edges; sharp polished edges chip more visibly under impact.
Honing removes reflectivity, not porosity. Seal the marble separately, and recheck the sealer where cooking oil, turmeric or standing water is present.
Choose a Red Marble Pattern That Works With the Lighting
A deep red background absorbs more light than a pale stone, so it can look richer in a dim room and more intense under directional spotlights. Strong colour saturation also increases the contrast of white veins, black patches and mineral marks.
The cutting direction changes the pattern completely. Cross-cut pieces tend to reveal cloud-like movement, while vein-cut pieces show longer, linear bands. Ask whether the sample and quotation specify cross-cut or vein-cut production; a trade name alone does not tell you how the slab will read.
| Pattern | Appearance under light | Best visual effect |
|---|---|---|
| Consistent veining | Lines remain legible and create direction across the surface | Calm, ordered interiors |
| Cloud-like movement | Broad tonal shifts soften or enlarge under changing light | Spacious, contemporary rooms |
| Brecciated marble pattern | Angular fragments create sharp contrast and catch highlights unevenly | Dramatic feature walls and statement counters |
| Speckling | Small mineral marks remain more even than dominant veins | Subtle surfaces with less visual direction |
Two slabs sold under one name can differ in background red, saturation and black marking because of their mineral content. A small showroom tile cannot represent the full slab. Approve the actual slabs, mark the intended cutting direction, and arrange them before cutting so a dark patch does not land at the room’s centre.
Judge the seam under the project’s installed lighting, not only bright showroom lights. Different red backgrounds, an interrupted vein, joint width and epoxy colour can make an otherwise careful match conspicuous.
Inspect the Actual Slabs Before You Approve Them
Natural variation changes a slab’s appearance; damage changes its structure. A red marble slab inspection must therefore assess the face, edges, underside and filled areas—not just the colour seen from a distance.
1. Compare the actual slabs side by side in the project’s lighting. Marble shade variation in the red background, black patches and mineral movement is natural, but a small showroom tile cannot represent the full slab.
2. Trace every prominent vein across the surface. Open veins in marble are natural gaps, but reject a vein that catches a fingernail, continues through the slab, widens at an edge or leaves a loose fragment.
3. Examine resin-filled fissures closely. Resin is an accepted stabilising repair when it is firmly bonded and colour-matched; reject filling that is cloudy, sunken, cracked, sticky or visibly separating from the stone.
4. Inspect edges and corners for chips, bruises and hairline cracks. A chip can be cut away, but a crack running from an edge or corner threatens fabrication and deserves replacement rather than concealment with a joint.
5. Ask for the slab thickness and inspect the underside for mesh, repairs or hollow-looking areas. Large or thin pieces need a flat substrate, compatible adhesive and planned reinforcement; attractive pattern cannot compensate for inadequate support.
Mark approved slabs and photograph them before cutting. Review adjoining slabs at the proposed seam, because a sudden change in red tone or an interrupted vein will be more visible there than under bright showroom lights.
Plan the Slab Sequence Before Cutting or Bookmatching
Arrange the actual slabs in installation order before any cutting begins. A marble slab layout reveals whether a dark patch will land at the centre of a room, whether neighbouring pieces change abruptly in tone, and whether a strong vein ends awkwardly at a joint.
Lay the slabs flat, photograph them together, and mark each one with its sequence number, finished face, top edge, and marble vein direction. Ask for arrows showing the intended cutting direction, especially when the quotation refers to cross-cut or vein-cut production. Cross-cut pieces show cloud-like movement; vein-cut pieces create linear bands.
Compare matching marble slabs under the project’s actual lighting, not only under bright showroom lights. Check adjacent edges together and approve the background red, vein continuity, joint position, epoxy colour, and joint width before fabrication.
Use this planning priority for each application:
| Application | Arrange and compare | Prevent |
|---|---|---|
| Floor | Sequence slabs across the main sightline | A dark patch or abrupt colour shift at the room centre |
| Wall cladding | Centre the strongest movement and balance the side cuts | An attractive vein being lost behind a cabinet or opening |
| Staircase | Align the marble vein direction across treads and risers | Veins changing direction from one step to the next |
| Countertop | Place weakly veined zones away from sink and hob cut-outs | Cracking or an unreliable edge around openings |
Bookmatched red marble requires compatible slab faces and vein direction; rotating ordinary pieces does not create a mirror image. Approve the pair, joint location, exposed-edge polishing, and extra wastage together before cutting.
Give the Red Marble Dealer a Specific Approval Checklist
Before placing the order, require written answers on six points. A verbal promise about appearance or sealing will not protect you when the installed stone differs from the sample.
1. Match the finish to the approved location. Compare a full-size marble finish sample in the project’s lighting, and record whether it is polished, honed, leathered or another finish. Confirm whether the sample is cross-cut or vein-cut; the same marble can show cloud-like movement or linear bands.
2. Ask for a spare piece and perform a marble sealer test with water, cooking oil and a likely household spill. Record the sealer type, penetrating or topical, application date and recommended recoat interval. “Sealed” does not mean stain-proof.
3. Approve the fabrication drawing before cutting. It must show slab sequence, joints, exposed edges, sink and hob cut-outs, and the direction of bookmatching. Keep weak veined zones away from sink and hob openings.
4. Confirm thickness, backing or reinforcement, adhesive compatibility and substrate flatness. Require support for overhangs; thin marble on an uneven base can crack under handling or point loads.
5. Get the expected yield and wastage percentage in writing. Bookmatching consumes more slabs, and turning ordinary tiles around does not create a bookmatch.
6. Check the marble fabrication quotation for stone grade, area, thickness, finish, cutting, polishing, edge profiles, cut-outs, delivery, installation, sealing, breakage responsibility and taxes.
Ask Nakoda Marble or any red marble dealer to attach slab photographs and the approved layout to the quotation. That document becomes your reference if the delivered stone, finish or wastage differs.
Related product
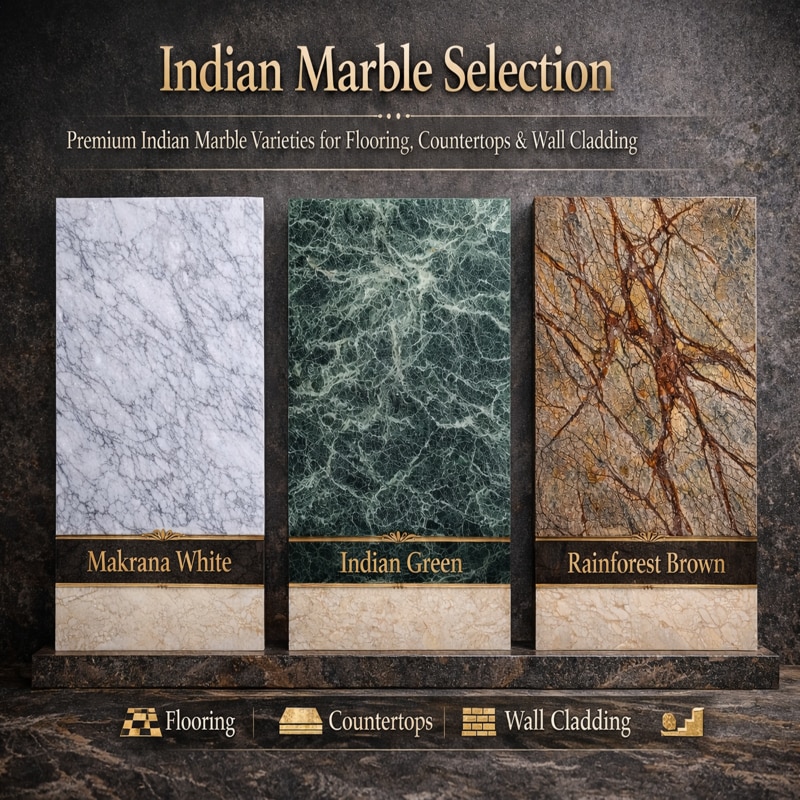 | Marble Marble Nakoda Marble is a trusted supplier of high-quality natural marble in Bangalore, offering a wide range of premium marble stones for residential,... |
Frequently asked questions
Where is polished red marble suitable for use?
Use it for dry wall cladding, low-traffic formal rooms, and vanity surrounds. Avoid it on wet, busy floors because polishing exposes water marks, scratches, dust, and acid etching.
How should lighting affect a red marble pattern choice?
View the actual slab under the room’s natural and artificial lighting. Reflective polished surfaces deepen red tones and make veining more prominent, while strong directional light can emphasise variation.
What should you inspect before approving red marble slabs?
Check the full slabs for cracks, shade changes, pits, repaired sections, scratches, resin-filled areas, and veining that could affect the finished installation.
Why plan slab sequencing before cutting or bookmatching?
Sequencing controls how veins, colour shifts, and mirrored patterns continue across adjacent pieces. Approve the layout before cutting to reduce mismatched joints and avoidable waste.